Burnishing the Edges

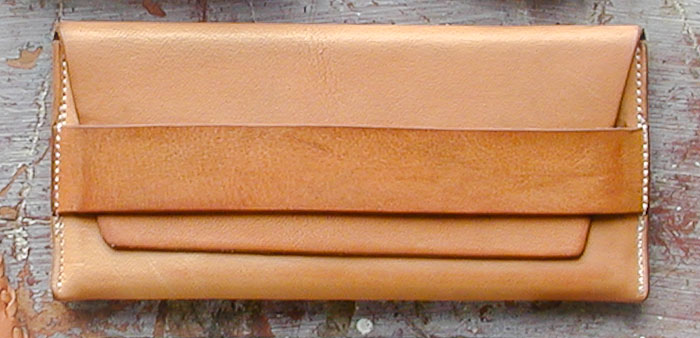
Leather Envelope
Here's the technique I've been using to burnish the edges on my vegetable tanned leather projects.
It takes a bit of practice to get good results so you might want to practice a bit on some scraps of good firm leather.
First of all it is essential that the edge to be burnished is cut and rounded with extremely sharp tools. Even slightly dull tools will pull at the fibers as they cut resulting in a hairy, fuzzy edge that can't be burnished well.
After I have an edge nicely cut and rounded I wipe on a little gum tragacanth to fill the fibers and let it dry.
To burnish to a nice glassy smooth finish, first the leather needs to be "cased" to just the right degree of dampness. Too damp or too dry will not work. Just the right degree of dampness is surprisingly close to dry. It has taken me a while to learn not to over case my work. Experiment to get a feel for that perfect state of dampness. The response of the leather will tell you when it is "cased" just right.
With a burnisher, a "rub stick" made from a smooth piece of hardwood or antler, slick the edge until you hear a "sticky clicking sound". Your burnisher will tend to stick to the leather, giving a bit of resistance as you rub back and forth and the edge will take on a nice glassy smooth finish. If the leather is too wet you won't hear the "sticky sound" and nothing will happen. Set it aside to dry out a bit and then try again.
Stop as soon as you get a good finish. If you continue burnishing, the heat caused by the friction of burnishing will draw the moisture out of the leather and the fibers will tend to stand up again.
Tags: Leatherworking